 |
| "Before" |
 |
| Temporary "After" |
Too obvious? Does this scream, "please drop your bags and start sewing"? Before you think I'm a huge jerk, you should know I did take her to some vintage shops and buy her crème brûlée.
 |
| Source |
But she was a busy little bee. While she was here she sewed the super cheery throw pillows for the newly decorated bedroom and fixed the West Elm bedding. She also whipped up some guest bedroom curtains, in addition to some other fun projects I plan to share. Because our plan for the curtains was so successful, I wanted to share . . .
Remember the guest bedroom windows? They are a bit awkward (and were bare):


The awkward placement precluded the kind of wall to wall curtains I have in the master bedroom:


And just doing blinds would have looked a little bare. So we hatched a plan for some fitted sheers to still let light in, but also provide some privacy.
How to:
Basically, these curtains consist of two pockets for flat, tension [Hubby says its technically a "compression"] curtain rods. The rods fit just inside the window frame and hold the curtain at the top and bottom, for a ruched look. (As a bonus, we used leftover from the master bedroom curtains, so the cost was low: four tension fit rods & that's it!)

Just sewing a pocket for a top rod created a more "country kitchen" look than I was after:
 |
| Too floofy |

To me, when the curtain is cinched at the bottom also, it looks more polished:

Once my mom sewed the rod pockets, top and bottom, and also hemmed the sides, we fit the curtains into place. The width of the curtain is up to you and dependent on how much ruching you want. You could make these completely tight, with no ruching. Play around with the fabric, but doubling the width of the window is a good start.

We did some fiddling and fussing to make sure the fabric was ruched evenly:

Much better! Didn't my mom do a splendid job? (Notice the dressed up night stand hard at work?)

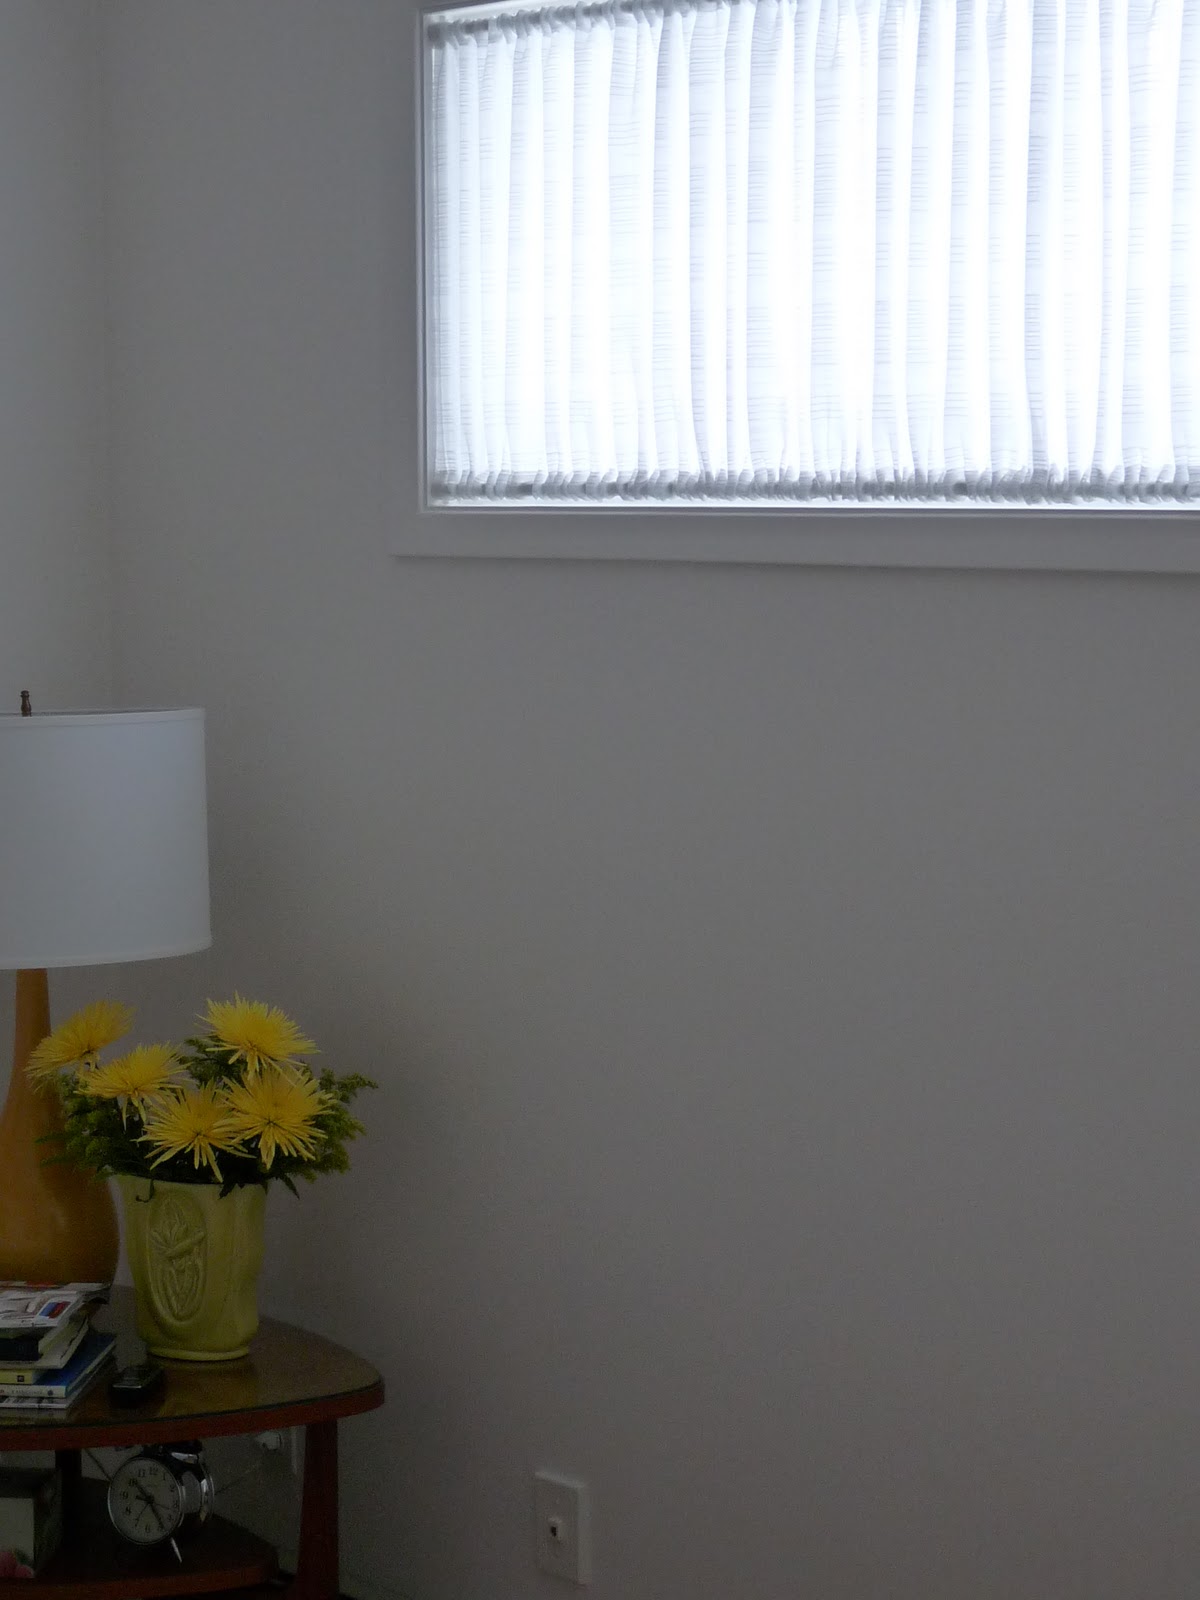 |
| NO staging took place for this pic . . . |


Now, we still have this awkward window to attend to. . .

P.S. pleasantly surprised our guest bedroom can fit a queen bed, armoire, night stand, chair, occasional table and a 51" dining table.