First up: a snapshot of the finished piece, then I'll get into the nitty gritty how-to. Now, I don't normally blog about human accessorries but this post provides essential backstory to a home accessories project/post I'll be feverishly working on when I'm back home.


To be honest, I'm not yet 100% sure I love it. But I am 100% sure that the video below is by far the best video for learning how to make the felted beads. I watched many more flashy/professional videos with pancake results (you'll see what I mean). This gal, Sara, is a total pro. I'm including her video because, really, why re-invent the wheel? My instructions are just be a clumsy version of her instructions, as I totally thieved her method. Although I did do something different: I didn't run the water the whole time. Instead, I used small bowls filled with hot and cold water to save water.
This video is flashier, but not as effective a method. But it is just soooo pretty!
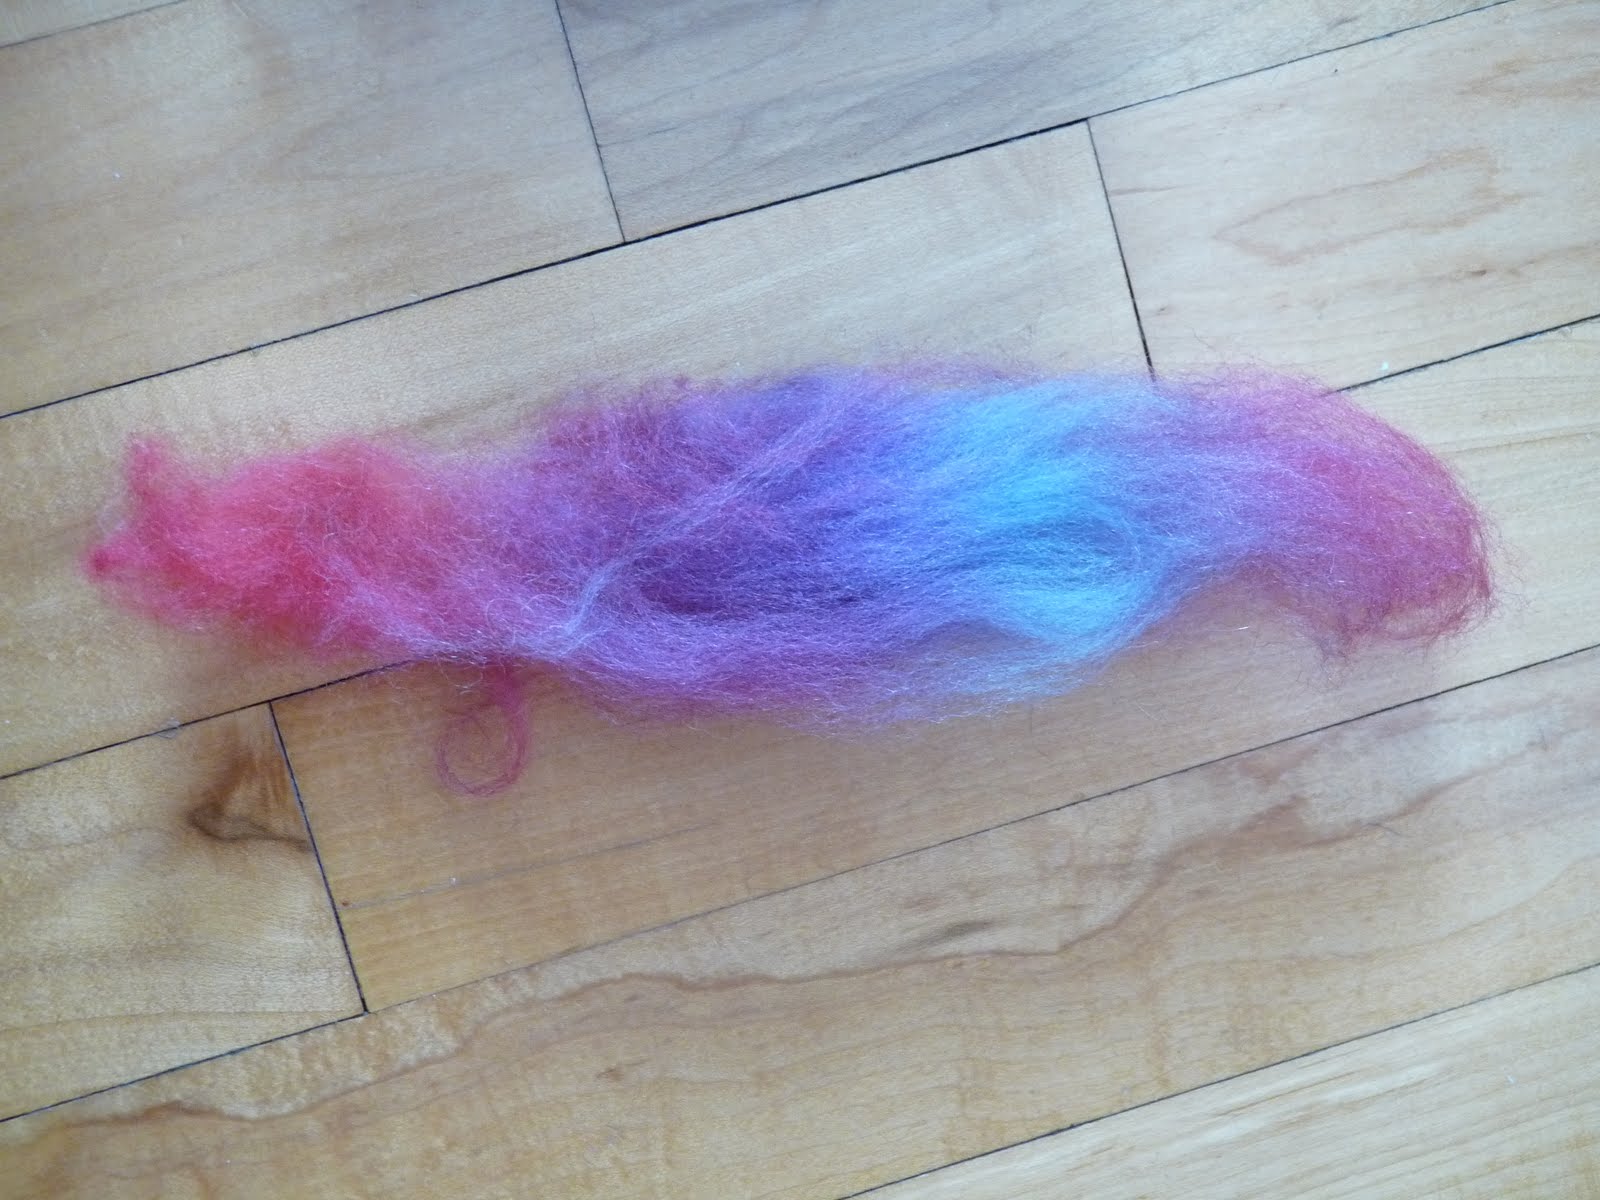
Basically, felting a ball is super simple. Start with a wool roving (purchased online or in felt/wool/knitting shops), pictured below, and tear it apart like you would cotton candy. Add a bit of dish soap, a bit of water, roughly shape it into a ball and then start rolling it between your palms like you would a piece of clay. Rinse it in hot water, then cold, to "shock" the fibres into felting (you continue doing this throughout the rolling process). It will feel like it won't work, then it will start to felt. Trust me. Add increasing pressure as your felt ball becomes firmer and when it is nice and firm, set it aside to dry for a day or two. Remember your finished ball will be smaller and denser than the rough ball you created when the roving was dry. Once my beads were dry, I simply strung them with some heavy duty beading thread and the sharpest needle I could find. You can fuss with a clasp (I did - click here for a fab how-to) or just tie a knot and slip it over your head.
 |
| Wool Roving |
 |
| Wool roving pulled apart and ready to shape |
Like I mentioned, I did have a couple "pancake" moments before I found Sara's awesome how-to video:
 |
| How NOT to create a felted ball - squoosh too hard in the beginning |
P.S. I laid out the beads as I worked to get a sense of the pattern I wanted and to make sure I had the right number of each colour. If you don't do this, your project might be delayed a couple days as you frantically make more felted beads and then impatiently watch them dry for two days.

P.P.S. An unwelcome felted bead hazzard: prune hands that lasted two days. Stupid felt. I better wear this necklace all the time.
 |
| Felting wool = prune hands |