While I was thinking about vinyl flooring, I realized not a lot of people talk about it. People tend to blog about installing marble or intricate tile. So, here are my reasons for loving vinyl flooring in our bathroom and some installation tips that might make life easier, should you try this at home.
Why I heart our vinyl floors:
- Super affordable
- Super easy to install and fit
- Super durable and kid friendly (ceramic tile & stone can chip - trust me)
- Embarrassingly easy to clean, partly because there's no grout!
- Ours is textured so its no-slip
- All in all, a great choice for our bathroom
How to install:
Step 1:Remove old flooring, but if the old flooring was glued down then wait to remove until you're ready to install. My grandpa tried to remove the old flooring early in the game but the floor was sticky, so we halted removal until the tub and tiling was done and we were ready for flooring. Tip: we tossed on some saw dust and then swept it away - it helped deal with the tackiness.
 |
| Before |
 |
| The removal process |

Step 2:
Make sure the floor is level, even and clear of debris. Any lumps and bumps will be felt through the flooring. We found it easiest to install when the tub was in, but the other elements were not. Be sure to remove your baseboards & toilet at least.
 |
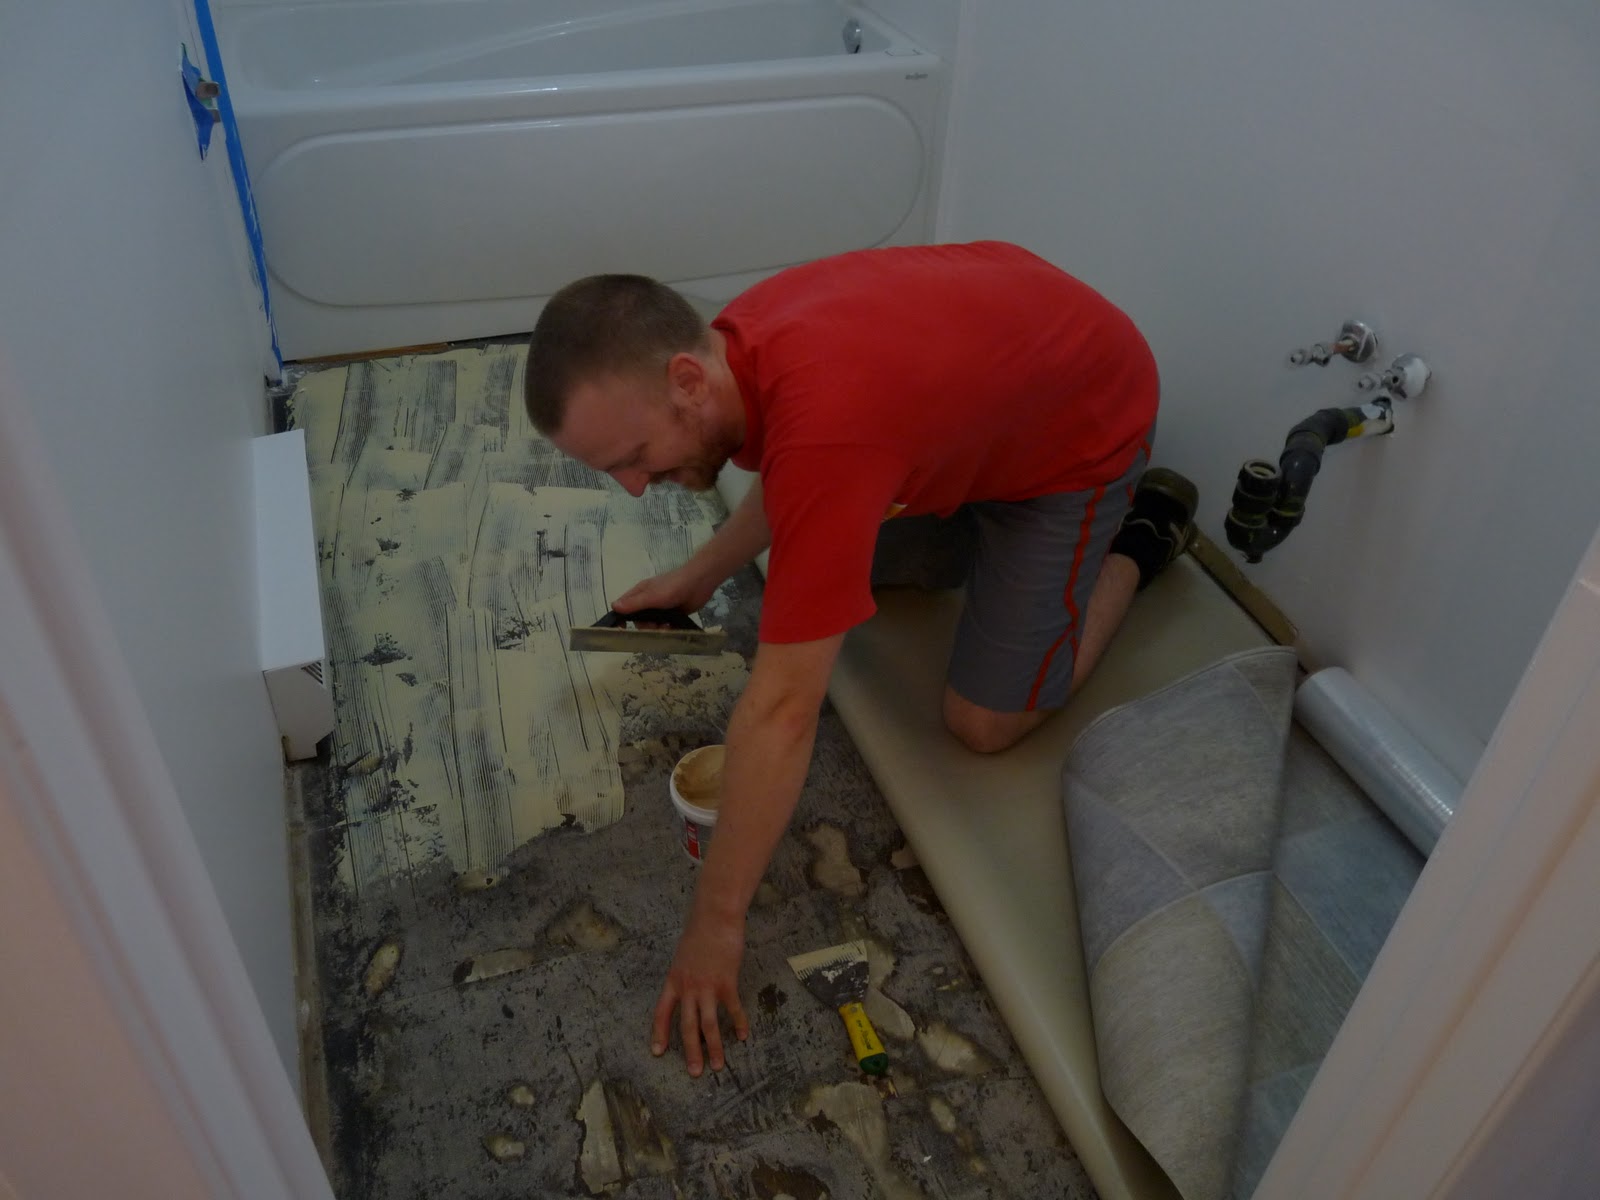
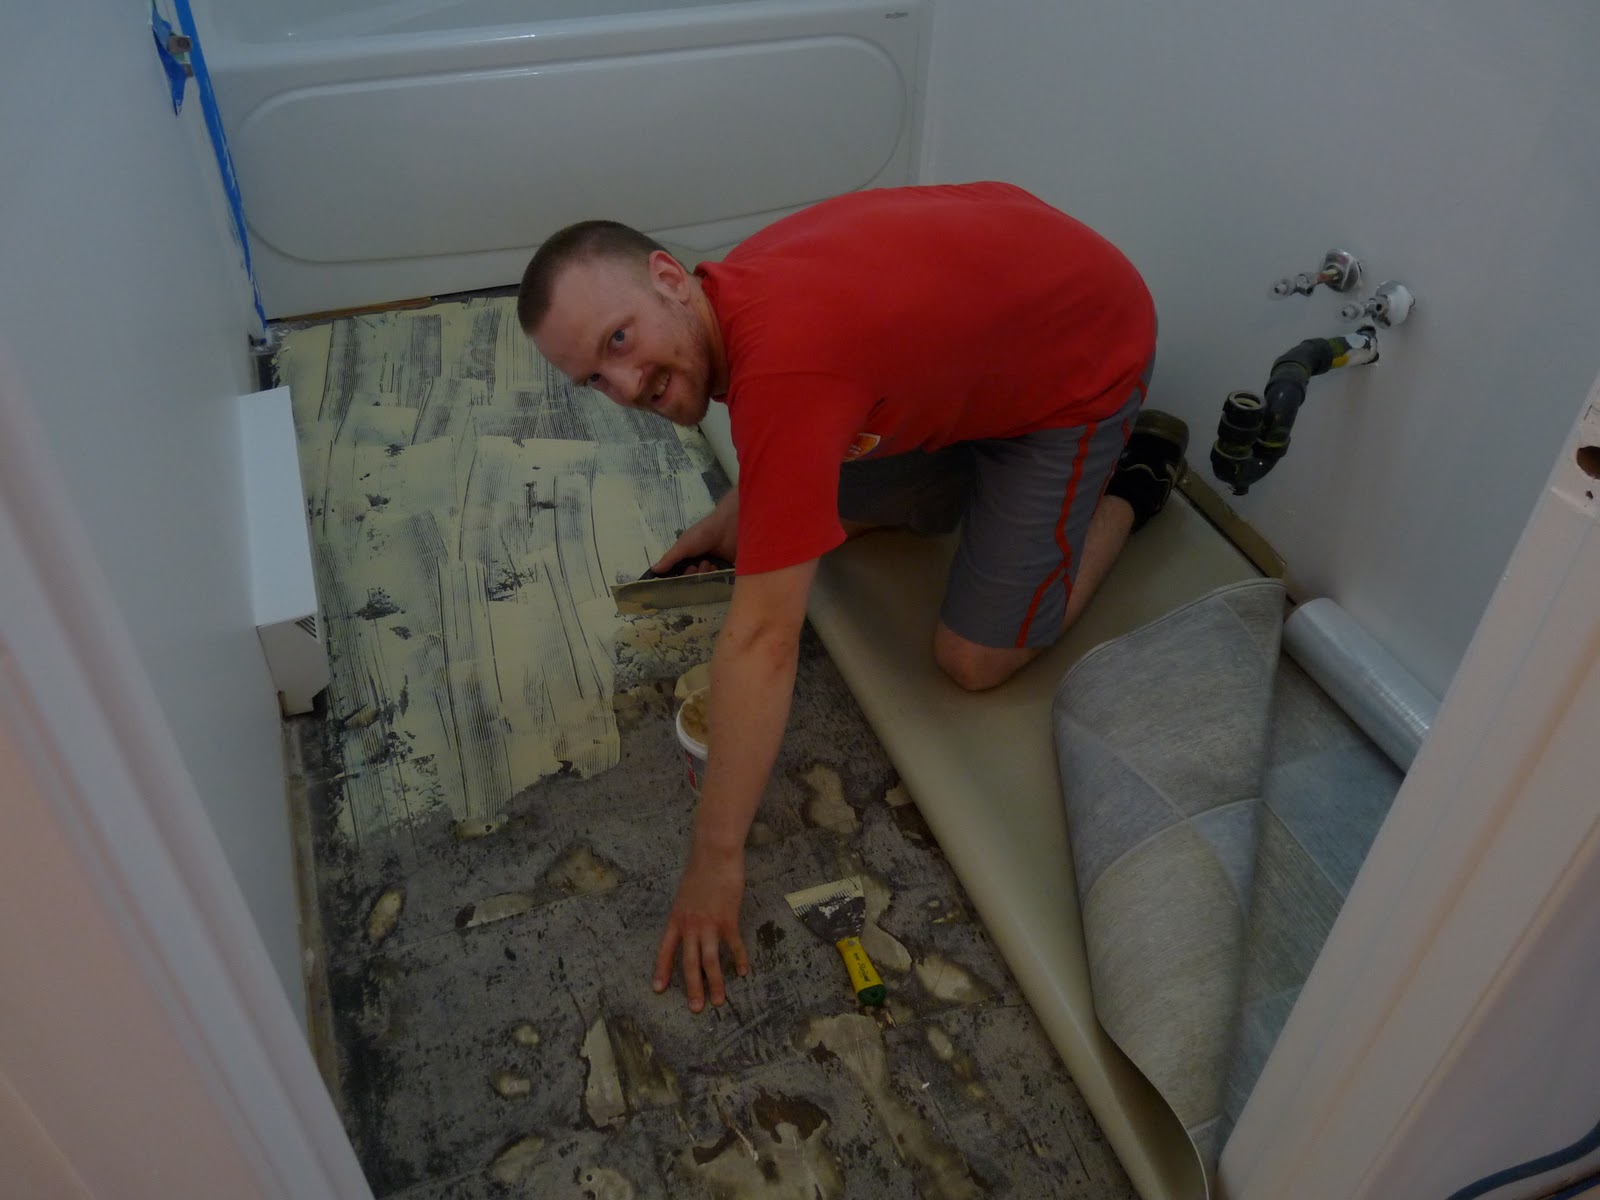
| My grandpa, hard at work removing the old flooring |
Step 3:
Dry fit and cut flooring to size - marking and cutting holes for the toilet drain, etc.
Step 4:
Working in sections, apply the contact cement (designed for vinyl flooring, talk to store rep from where you bought your flooring for a recommendation on the right kind) with a toothed trowel. Wait as per instructions for adhesive to get tacky.
Step 5:
Lay down half your flooring and roll out bubbles, working from the middle out.
Step 6:
Repeat for other remaining section. Roll out again - you want a nice smooth surface.
Step 7:
After waiting the appropriate dry time (as per manufacturer's instructions), you can install your baseboards and transitions.
 |
| All installed, with the baseboards, vanity & toilet in place |

 |
| After |

 |
| Ah, the right transition . . . |
So, that's how we installed our floors. If you don't like vinyl, there is also more natural linoleum. Linoleum is made from linseed oil & flax seeds and can last 50 yrs., while vinyl flooring is a petroleum oil product. We chose vinyl because I picked a look I liked and it happened to be vinyl. In my opinion, with vinyl or linoleum flooring, it is best not to pick something only because it is trendy or looks almost like something else. Pick it because you like the pattern.