
Yesterday, I blogged about my office and I had a question about how we made the desk. Well, to answer that question I had to call in some reinforcements: my hubby. I refinished the treadle base, he built the top and I gave it a clear coat. Without further ado, here is how he built the top:
The Desktop (by Tanya's husband)
Here's a basic description of how this desk top as made. My father and I put this together in his shop.
I believe the desk top is made from poplar, but I cannot remember for sure. It was some excess wood my father had in his shop. The wood looks a lot darker than original because it has been kiln dried and heated. I am not familiar with the process, but it is basically super heated so it almost takes on a burnt appearance.
First, the top planks were planed to thickness and then the edges were jointed to get a smooth, straight edge. They were then butt jointed together with a good quality wood glue and all clamped together with bar clamps overnight.
Once dry, the top was then cut to length using a circular saw and sanded. To sand the top we used a stroke sander. For those who do not know, a stroke sander is basically a belt sander, except it is stationary and the piece you are sanding is placed on a table and the table moves under the belt.
The top edges were rounded over with a trim router and a 1/4” radius bit.
Once sanded, I made two cross pieces to fit perpendicular to the top planks for strength and to mount the base to. To mount to the base, each cross piece is drilled and bolted to the iron sewing machine base. Larger holes chase the bolt holes to counter sink the bolt heads and enable the desk top to sit flush on top of the cross piece. Each cross piece is fixed to the top with seven wood screws that are counter sunk and driven from the bottom. This is all assembled and fit, disassembled, and reassembled. The cross piece is first bolted to the base, and then the top is screwed to the crosspiece.
After it was all done, Tanya put coat of clear finish on the top to help protect it and make it look snazzier.
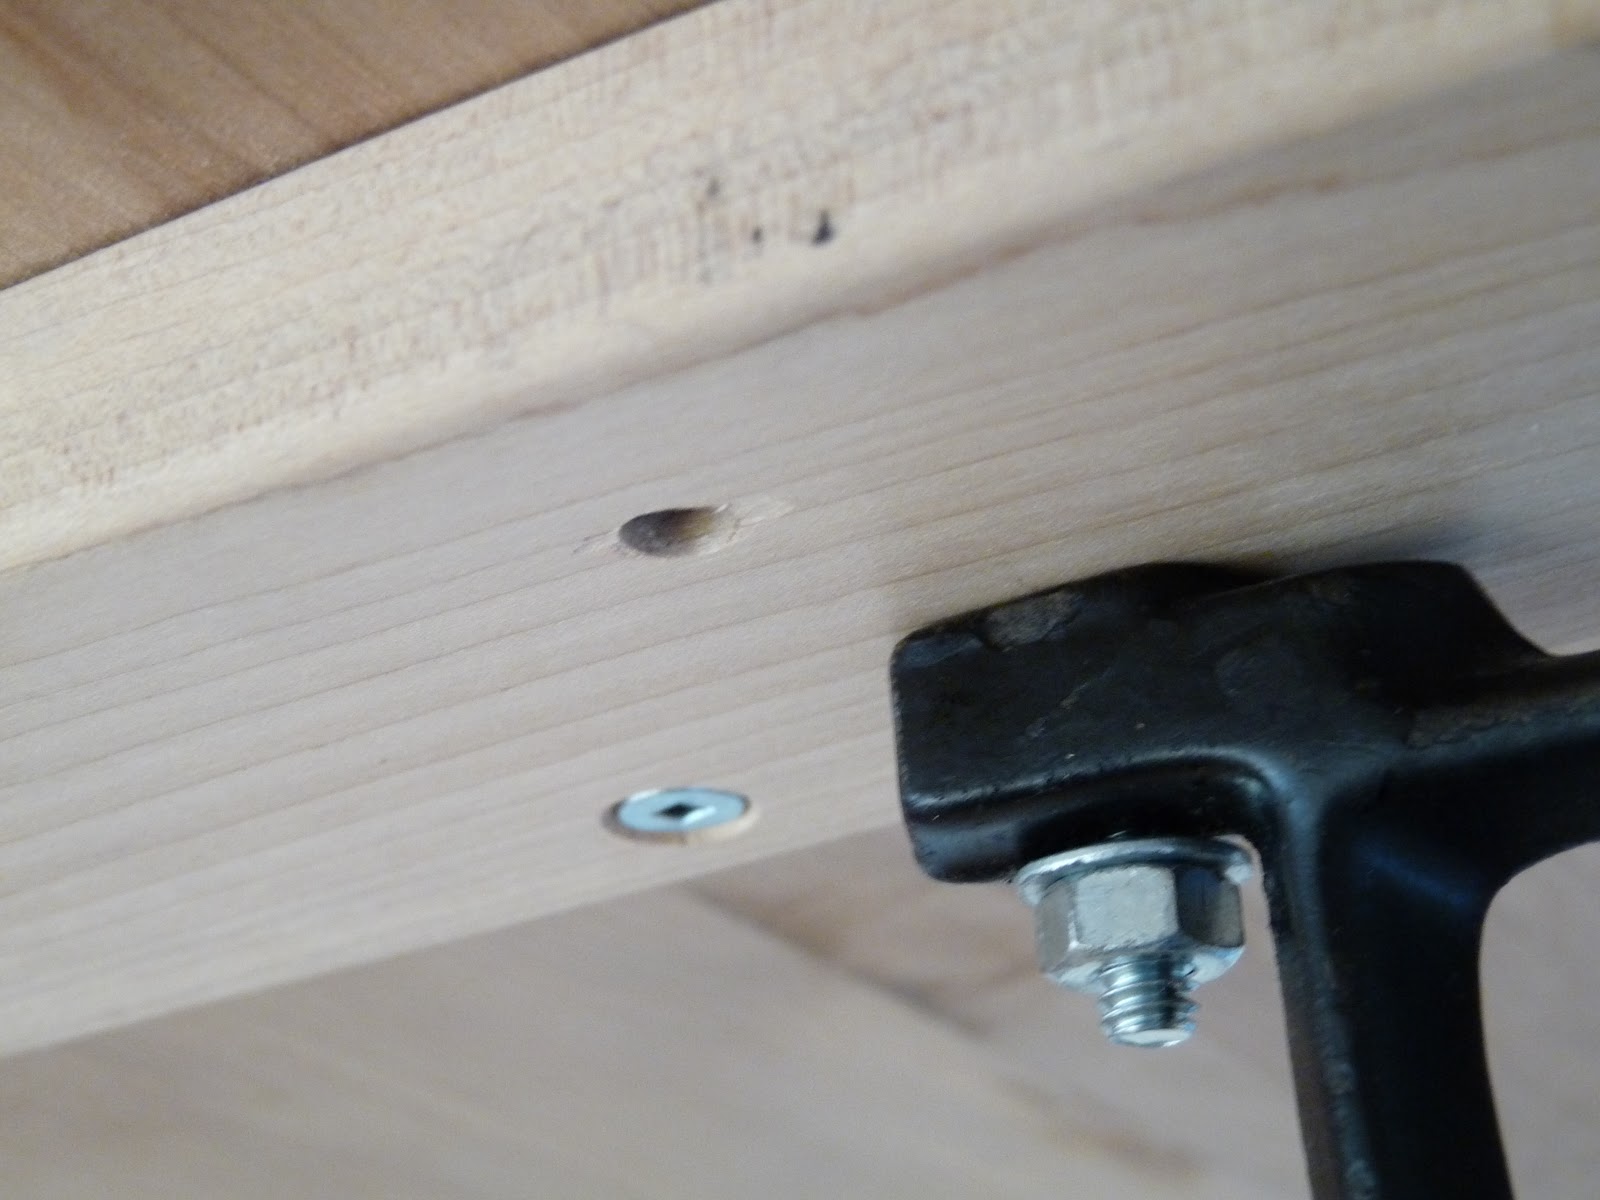 |
| The underside |
 |
| Ditto |
Thanks, hubby.
It is true: I put on the top coat. Check out how we re-varnished our kitchen cabinets for our tips.
Painting the Treadle
Refinishing the treadle base was also super easy: give it a good wash and dry, sand any rusty spots, wipe off sand, prime with a metal primer (I like tremclad spray paint), let dry, then paint with a spray paint designed for metal (again, I use tremclad). I let it dry overnight and did two coats.
If you didn't marry the son of a woodworker . . .
. . . then what were you thinking? Kidding. The only tricky part is the table top he built from (very nearly built from raw trees) scratch, so I've been thinking of something simpler: snag the top from an already built table/desk (often the legs are removable) and affix it to the treadle base. An old door, or IKEA desktop would work too. Or, hire a woodworking student (or pro) from your local trades school to help. A student will likely love the chance to build their portfolio and will charge much less (if anything) to help.
P.S. If you want more explanation or pics, let me know. We didn't take pics during construction (it was sooo long ago) but can take more of the desk underside.